Quiz (Mission Test)
Adding questions to the mission test
In the mission test section, click Edit to begin adding questions to the mission test.
To add questions to the new test assessment style, select the Quiz tab. Continue with the Quiz section below.
To add questions to the current assessment style, select the Quiz (Deprecated) tab. Continue with the Quiz (Deprecated) section below.
Quiz
- On the Test tab, click Add new Mission Test to start building the mission test.
- On the Quiz tab, click Create new Test
- Below the quiz section, in the Advanced section, expand the Advanced drop-down arrow to expose the Item Display Limit field.
- Enter the number of questions that your test contains. For example, if your mission test is comprised of 25 questions, enter 25 in the Item Display Limit field.
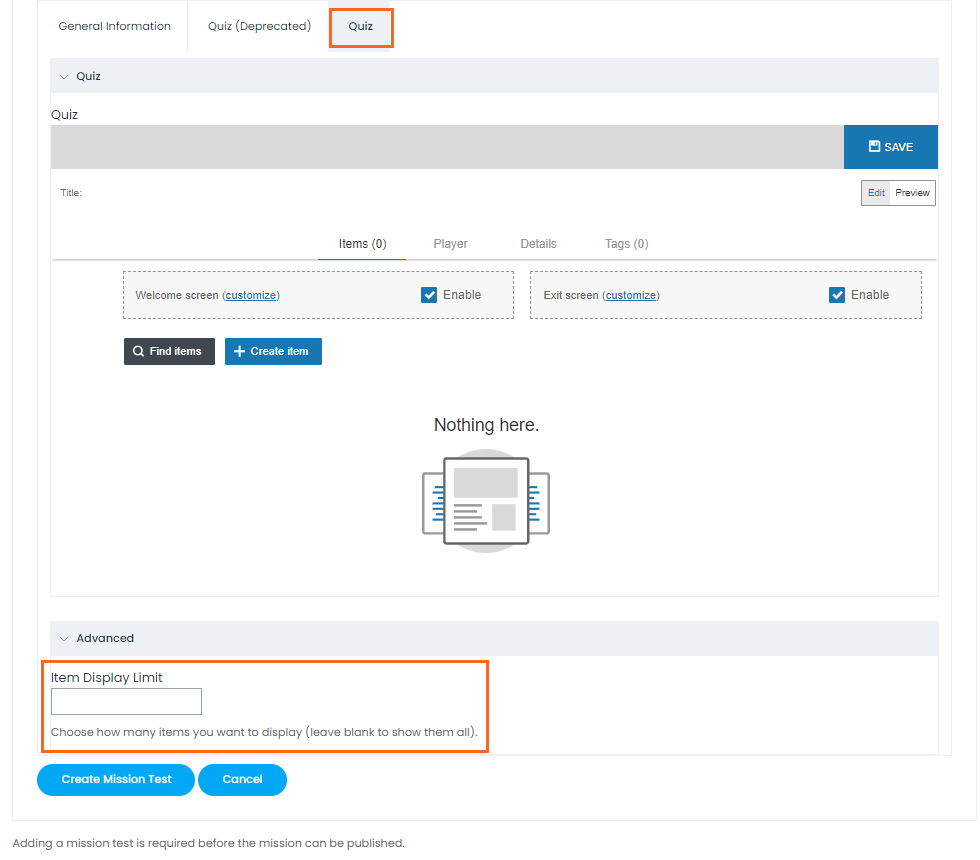
- Click Create Mission Test.
- In the Mission test area, under Operations, click Edit to begin adding questions.
- In the Quiz tab, click +Create item to add an assessment question.
- In the Quiz tab, click +Add new to select a question type.
- After you add all interactions and return to the Item bank (where the list of questions for the assessment is located), click Update Mission Test to save the questions.
- Scroll down to the bottom of the page and click Save to save the mission test.
Quiz (Deprecated)
Content type
In the Content type section, click the Quiz (Question Set) drop-down, then select Quiz (Question Set) to display the Question set editor.
Title
Enter the name of the mission test. For example, Customer Service Foundation.
Pass percentage
In the Pass percentage field, enter 80 as the total score required for passing the mission test.
Questions
In the Questions section, from the Question type drop-down list, select the type of question you want to add to the mission test.
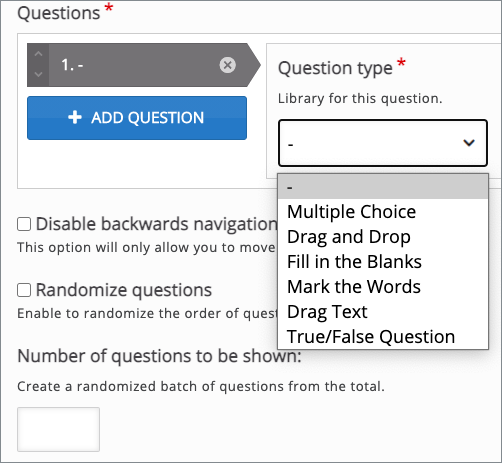
Click to add additional questions to the mission test, then select the question type from the Question type drop-down list.
Randomize questions
Select the Randomize questions checkbox option to randomize the display of the questions in the mission test each time the user takes the mission test.
Number of questions to be shown:
Enter the number of questions to be presented in the mission test.
Finished
Use the following settings for all mission tests:
- Select the Display results and Display retry button options.
- In the Feedback heading field, enter Your result is: (points earned / out of total points).
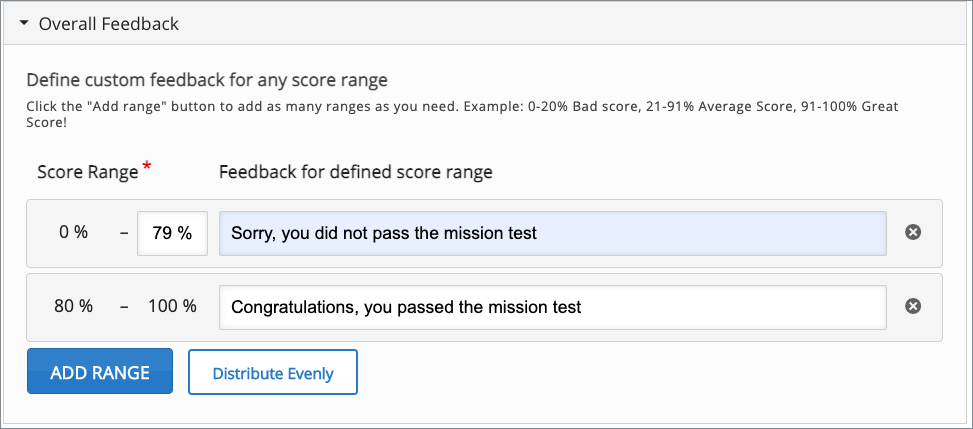
Overall Feedback
- Click ADD RANGE to a second Score Range.
- In the first score range row, enter 79 as the end range.
- In the first row of the score range, in the Feedback for defined score range field, enter Sorry, you did not pass. Review the mission content and try again.
- Click or tab out of the field to automatically populate the second row.
- In the second row of the score range, in the Feedback for defined score range field enter Congratulations, you passed.
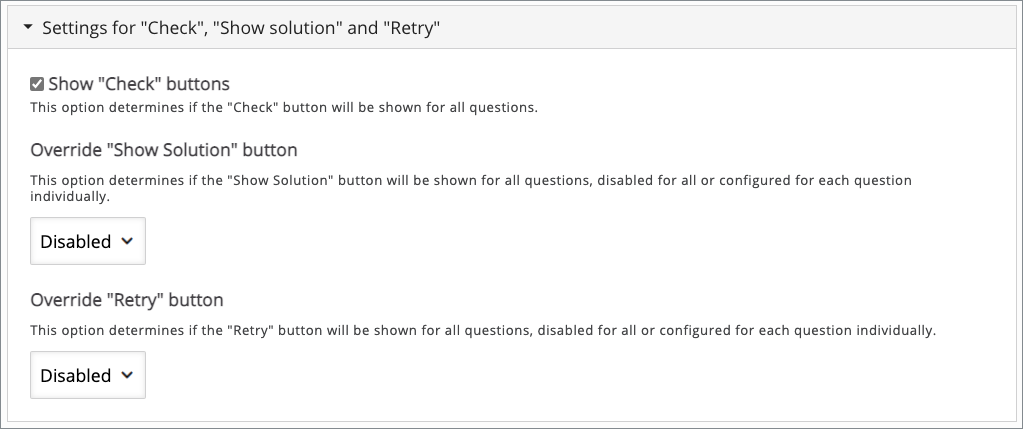
Settings for "Check", "Show solution" and "Retry"
- Confirm the Show "Check" buttons option is selected.
- Select the Disabled option for Override "Show Solution" button and Override "Retry" button
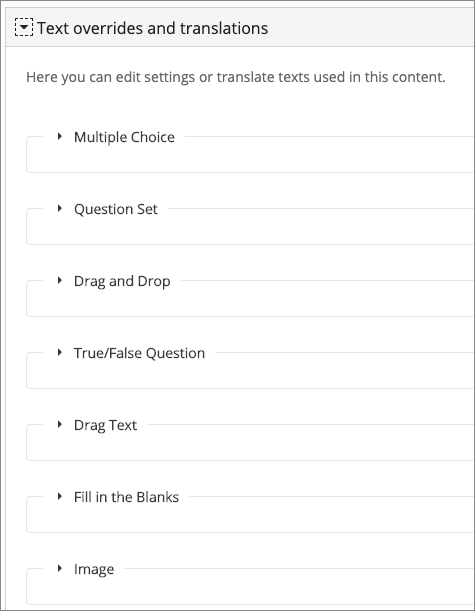
Text overrides and translations settings
Use this section to define the text for the Check answer button label for each question type.
In the Question Set section:
- Expand the section.
- Expand Previous question.
- In the Finish button field, enter Submit mission test for scoring
For each question type in the Text overrides and translations settings section, expand the question type. In the Text for "Check" button or Check answer button label field enter Check submission (no retry).