Adding a search gadget
Improve the usability of your mobile app by configuring and enabling the search functionality. You can guarantee more meaningful search results and increase the speed of the search by limiting the scope of the search to specific case types.
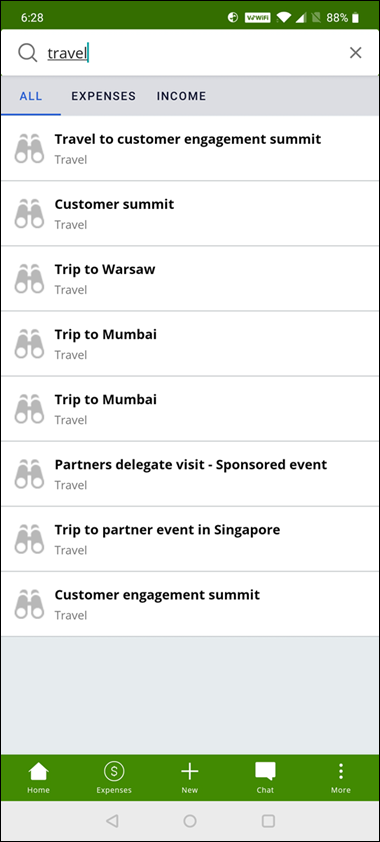
For example, in your Expenses mobile app, apart from the expense reporting case type, you have a case type in which users submit requests for a per diem allowance. You can add both case types to the search configuration, and provide users with search results that the mobile app displays in categories. After configuring the search categories, you can add the Search action to the menu bar of your mobile app, to provide a convenient method of initiating the search.
- Open your mobile channel:
- In the navigation pane of App Studio, click Channels.
- In the Current channel interfaces section, click the tile that represents a mobile channel for your app.
- On the mobile channel page, on the Content tab, click the Search category.
- In the Case types section, click Add case
type, and then select the case type that you want to use as a
search category.At run time, the name of the search category in the search results is the same as the name of the case type that you add.
- In the search case type configuration window, in the Data
view field, enter the data page that you want to use as the
source for the search category.
- Optional: To change the default icon of a search category, next to the current icon,
click the Change button, and then select the icon that
you want to use:
- In the icon selection modal dialog box, click the Show image viewer icon.
- In the Image catalog window, enter an image name, and then click Find.
- Select the image that you want to use as the default icon for the
search category, click OK, and then click
Submit.
- In the search case type configuration window, in the List item
information section, configure how the mobile app page displays
the search results:
- In the Primary field, enter the property that you want to use to populate the label of the search result at run time.
- In the Secondary field, enter the property that you want to use to populate the secondary text of the search result at run time.
- Optional: To add more categories, repeat steps 3
through 6.
- Click Submit, and then click
Save.
- Add the search action to the menu bar of your mobile app:
- On the mobile channel page, on the Content tab, click the Navigation category.
- In the Navigation section, click .
- Click Save.
- Authoring mobile list pages
Improve the responsiveness and load time of the user interface in your mobile app by displaying the content of your app as a mobile list page. This way, you enhance your mobile app with a native screen that has fluent transitions and a search bar in the header by default.
- Adding a floating action button
Promote the most important action on a page by adding a floating action button to your mobile app. For example, you can add a floating action button that starts a case flow for creating a new expense report in your Expenses mobile app.
- Adding items to the menu bar
Create effective navigation experience in your mobile app by adding pages and actions to the menu bar. For example, you can add a custom profile page to the menu bar of your Expenses app so that users can conveniently access the screen with their basic contact information.
Previous topic Authoring mobile list pages Next topic Adding a floating action button