How to create a custom Smart Shape
Smart Shapes allow you to easily add frequently-used utilities to your process designs. Available on the Process Modeler Smart Shape palette, the standard utility Smart Shapes can be used in process flows with little to no additional configuration.
You can also take advantage of Smart Shape capabilities by designing your own shapes based on PRPC standard activity APIs. This article describes how to create your own Smart Shape and add it to the palette.
Example
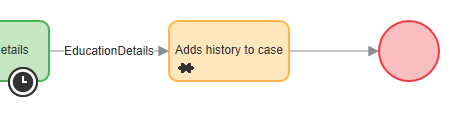
In a student loan application, you can design a Smart Shape that automatically adds a history memo indicating that an applicant has finished the student loan application process after the Education Details flow action is complete.
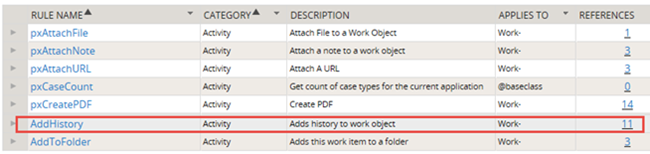
Use the standard AddHistory activity as the basis for creating a new Add History Smart Shape: 
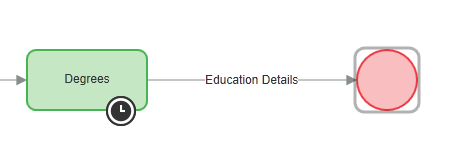
Use the Smart Shape in your process to add the history memo:

Basic steps
To create the Smart Shape:
- Copy the AddHistory activity to your application.
- Create a post processing data transform that maps the property in the Smart Shape's flow action to the activity's parameter.
- Create a flow action (and its section) that captures the required parameters and displays them in the user form.
- Specialize a navigation record that displays the Smart Shape on the palette and defines the user interaction.
Step 1: Copy the AddHistory activity to your application
- Open the APIs landing page by selecting
- Click the AddHistory link to open the AddHistory activity.
- Save the activity to your application.
Step 2: Create a data transform
- Before creating the data transform, create a text property named .AddHistory in your application. On the General tab, specify pxTextArea in the Display and Validation area's UI Control field.
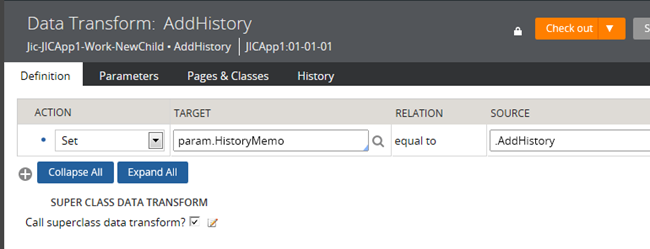
- Create a data transform named AddHistory in your application.
- On the first row, enter the following:
- Set in the Action field.
- param.HistoryMemo in the Target field. This is the HistoryMemo method parameter used by the AddHistory activity.
- . AddHistory in the Source field. This is the property you created and used by the parameter.
- Save the data transform.
Step 3: Create a section and flow action
Create a section
- Create a section named AddHistory in your application.
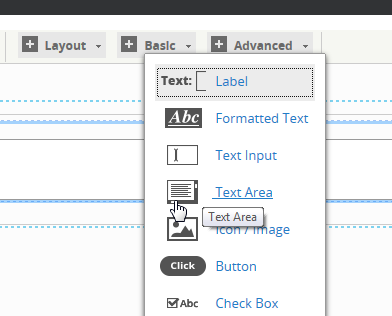
- Drag and drop the Text Area control from the palette onto the layout.
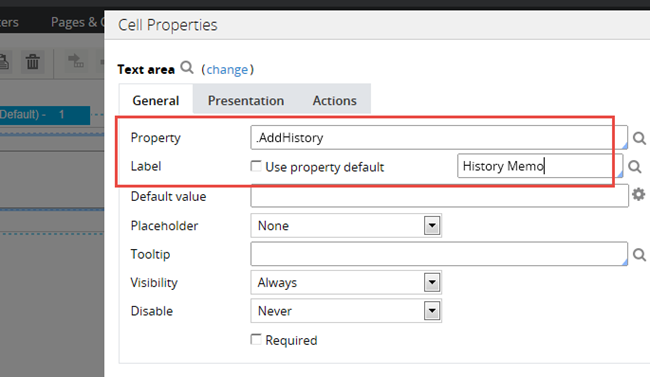
- Open the the control's panel and enter:
- .AddHistory in the Property field.
- History Memo in the Label field.
- Save the section.
Create the flow action
- Create a flow action named AddHistory in your application.
- On the Layout tab, enter AddHistory in the Section field.

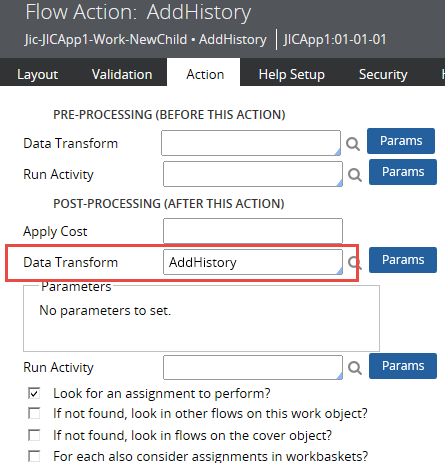
- On the Action tab, enter AddHistory in the Data Transform field.
- Save the flow action.
- Open the AddHistory activity.
- On the Parameters tab, enter AddHistory in the Local Action for Parameter Display field.
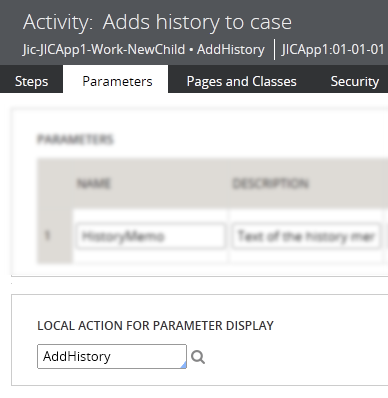
- Save the activity.
Step 4: Create the navigation record
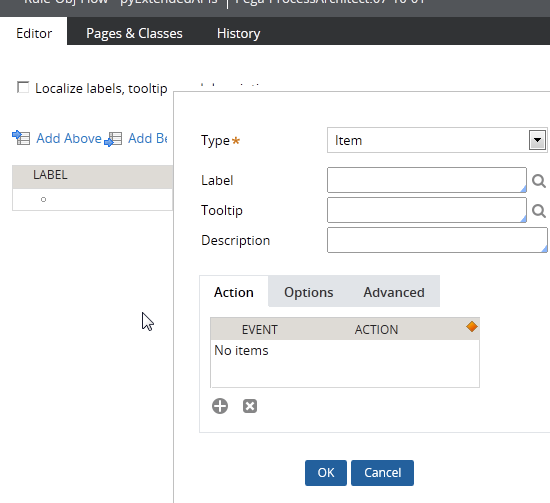
- Open the navigation record .pyExtendedAPIs and save it to your application.
- On the Editor tab, double-click the first row to open the configuration dialog.
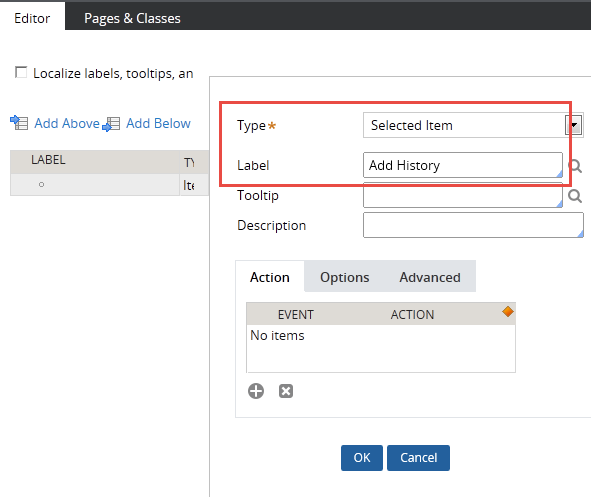
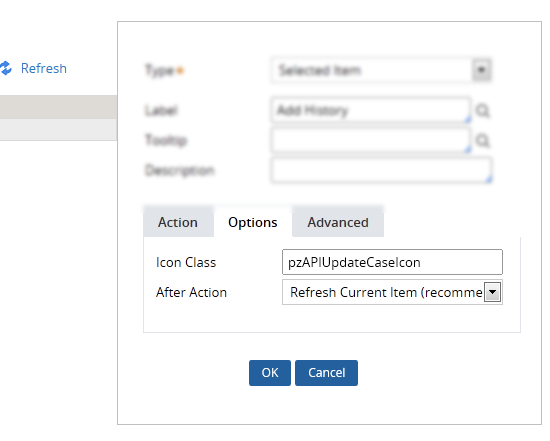
- Select Selected Item in the Type field, and enter Add History in the Label field.
- Add a row on the dialog's Action tab. The behavior dialog displays.
- In the Action section, click the Select link and select .
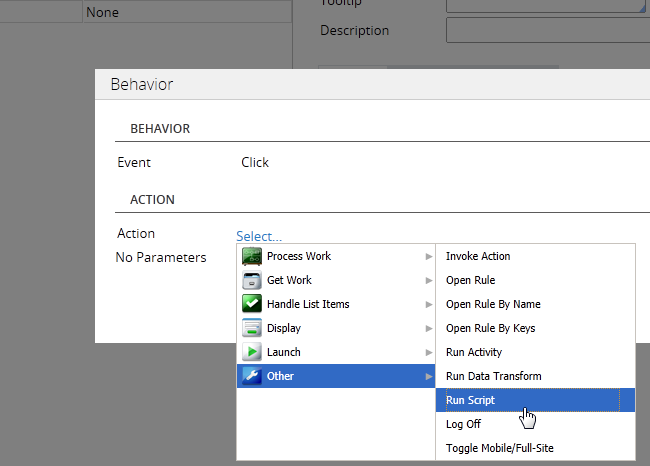
The Behavior dialog refreshes and displays the Run Script options. - Enter:
- addApi in the Function Name field.
- Utility and AddHistory in the Parameters fields.

- Click OK to exit the dialog.
- Click the add row icon to add another action.
- Select the Run Script action.
- In the Function Name field, enter
"ViewerManager.executeAction"(include quotes). - In the Parameters field, enter this value:
script:{name:\\u0022addNode\\u0022,type:\\u0022Utility\\u0022,args:{apiName:\\u0022AddHistory\\u0022}}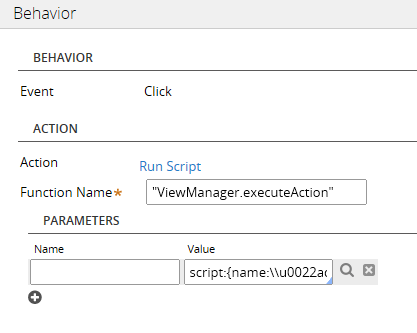
- Click OK to exit the dialog.
- Open the Options tab on the configuration dialog and enter pzAPIUpdateCaseIcon in the Icon Class field. This class is defined in the standard Styles for Editor (pyMxGraphViewerStyleDefault.css) text file.
- Open the Advanced tab on the configuration dialog. In the Show area's When field, remove the default never value and replace it with Always.
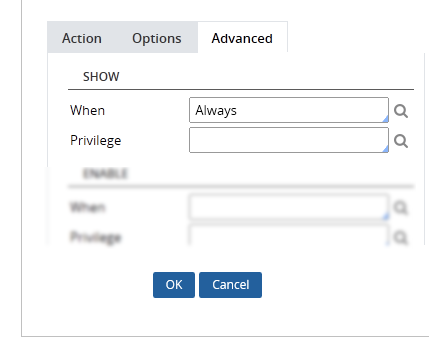
- Click OK to close the dialog.
- Save the navigation record.
Test the Smart Shape
- Select the case type in the Cases Explorer.
- On the Case Designer's Stages & Processes tab, open the Process Outline of the Stage that contains the process you want to modify (click the Configure Process Details link under the last step beneath the Stage shape).
- In the outline tree, select the flow to display it in Process Modeler.
- On the toolbar, click
 to open the Flow Shape palette.
 - Select

The Smart Shape displays on the layout. - Position the shape between the Details assignment and End shapes.
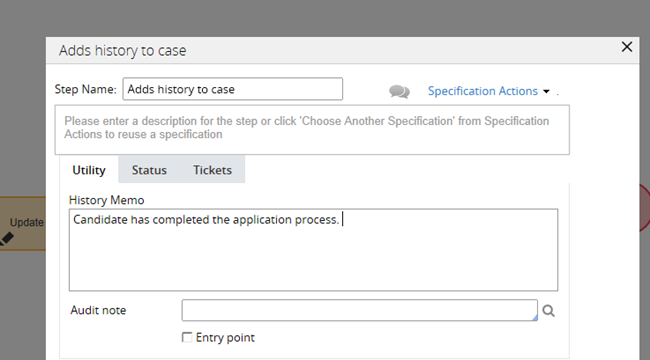
- Click the Adds history to case shape to open its properties panel.
- Enter the memo that displays in the case history after the Education Details action is processed.
- Start the process.
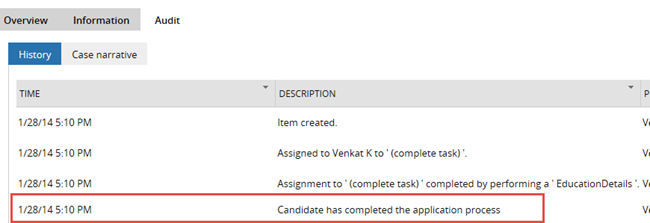
- When the EducationDetails assignments is complete, open the History tab on the work form. The memo you entered in the Add history to case Smart Shape displays, as shown below: