How to use a Button control to display a modal dialog
Summary
As of V6.1 SP2, the Button control uses the auto-generated control rule pxButton. You can configure this button in a section, flow action or harness to perform any of a wide variety of actions. This article shows you how to design the button so that a user can display a modal dialog from:
- Non-repeating layouts
- Action areas above or below repeating layouts such as grids, tree grids, and trees
- Express Action buttons in repeating layouts
You can also configure repeating layouts so that a user displays a modal window by selecting a row in a repeating list. See How to present a flow action as a modal dialog (V6.1). The configuration instructions describing Express Actions and buttons do not apply to V6.1 SP2+.
For new development, the auto-generated pxButton control rule described here is recommended. See also Using the pxButton control rule.
Note: You cannot use the pxButton control in a harness's bottom cell. Drag and drop the Button control from the Basics group and configure it using the V5.4+ configuration method. See How to configure a local action in a button (V5.4+ harness rules).
How modal dialogs work
A modal dialog combines a pop-up window with a flow action as the frontmost form where the user is working. The dialog box is centered in the viewing area. The user cannot continue with other processing in the application. The flow action provides the section or sections containing the form fields the user is to complete. When the user submits the form, the modal dialog closes. The user can then resume working in the main window.
Suggested Approach
A purchase order entry application user, while working in a Perform harness, must be able to review and update editable property values on the work object page entered in the New harness (shown below). All the values appear in read-only format on the Perform harness.
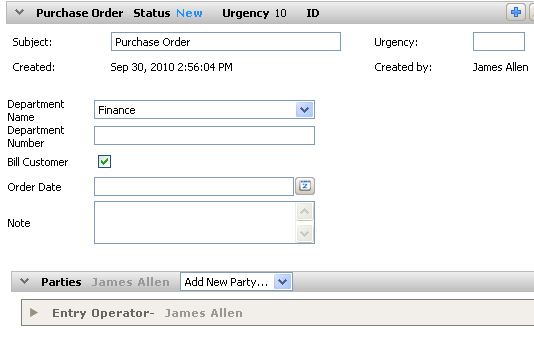
You will use the standard flow action pyShowDetailsto display, in the Perform harness, the New harness section properties in edit mode. As a prerequisite, the user must be able to see the Perform harness while reviewing the properties.
You will set up a modal dialog to provide this capability. Do the following:
- Make a copy of pyShowDetails in your work class. Clear the Hide the default Action Section buttons? checkbox on the Action tab. In this example, the copy is named ReviewDetails.
- Open the Perform harness rule and display the wireframe.
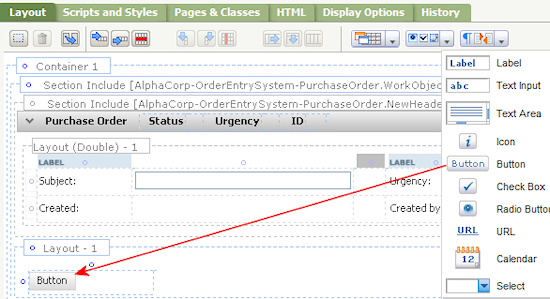
- Select the Basic control group. Drag and drop the Button control into a .NewHeader section layout cell.
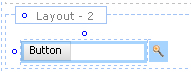
- Click the magnifying glass icon (
 ) next to the button cell to open the Cell Properties panel.
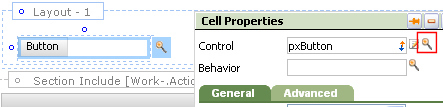
- In the panel, click the magnifying glass icon (
 ) next to the Control field to open the pxButton control rule Parameters dialog.
Use this dialog to customize the button's appearance and behavior within the context of the section that contains it. You are not updating the pxButton control rule itself.
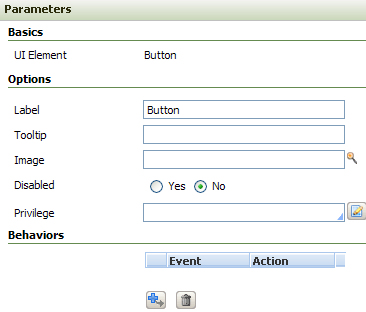
- In the dialog, enter
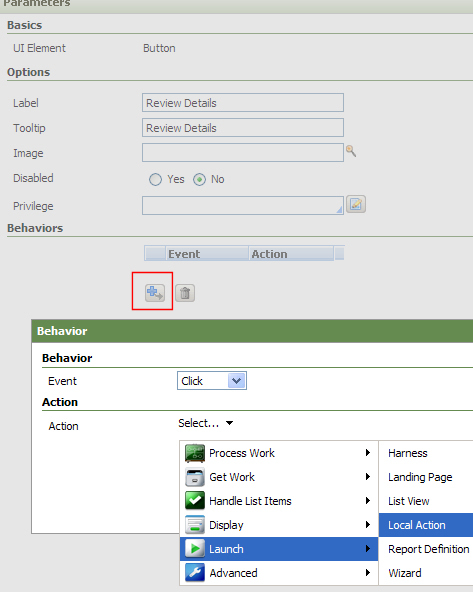
Review Detailsin the Label and Tooltip fields. Note that you can use the Disabled and Privilege fields to restrict the button's availability to specific users so that the values remain read-only to unauthorized users. - In the dialog's Behaviors area, select the Add Row icon (
 ) to open the Behavior dialog.
 - In the dialog, select
Clickfrom the Event drop-down list. - Select Launch > Local Action from the Action drop-down menu as shown here:
The local action Behavior dialog opens.
- Select
ShowDetailsin the Local Action field and select the Open in Modal Dialog checkbox as shown here:

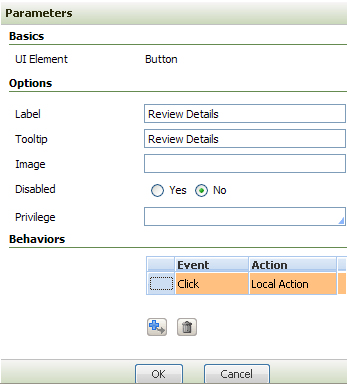
- Click OK to close the dialog.
- In the Parameters dialog, click OK to close it.
- Save the harness rule. This saves your settings in the section.
- Run the flow to test your configuration.
- Click the Review Details button in the harness. The modal dialog pops-up and displays the fields in the New harness sections.
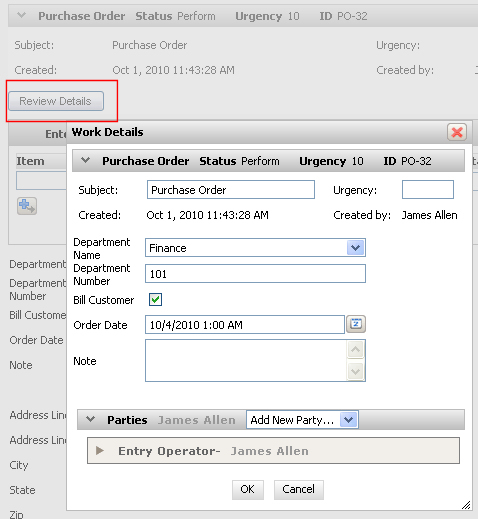
- Make your updates, click OK , which commits your edits and closes the modal dialog. Note that the section does not refresh when the modal is submitted.