How to change the logo image on a composite portal
Summary
Changing the logo image for a V5.5+ composite portal that is based on the standard User or Manager portals is straightforward, but requires a different procedure than changing the logo image for a traditional portal.
Suggested Approach
On a traditional user portal — such as those based on the WorkManager and WorkUser standard portals introduced in V5.1 — the Logo field on the Options tab of the portal rule identifies a binary file rule containing the logo image file. (See How to replace the logo on the portal for this case.)
To replace the Pegasystems logo with your preferred image on a composite portal, follow these steps:
Step 1: Create composite portals and skin
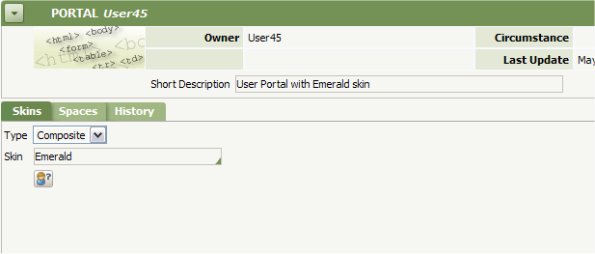
In this example, a composite portal named User45 is based on the standard portal rule User. For the Emerald Club's membership application, the User45 portal rule is identical to the standard User portal except that it uses an application skin, Emerald.
For background on this step, see:
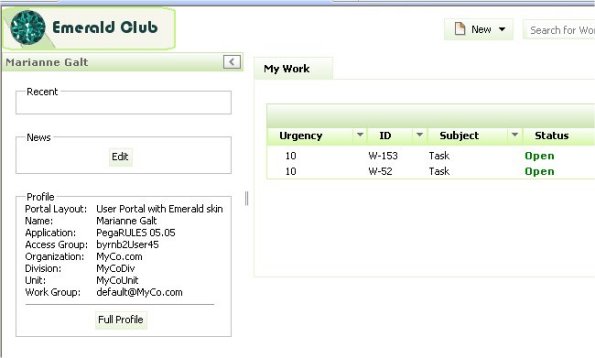
Log in as an Operator ID that — through their access group — uses the composite portal. The Pegasystems logo appears in the upper left of the composite portal.

Step 2. Create a binary file rule for the logo image
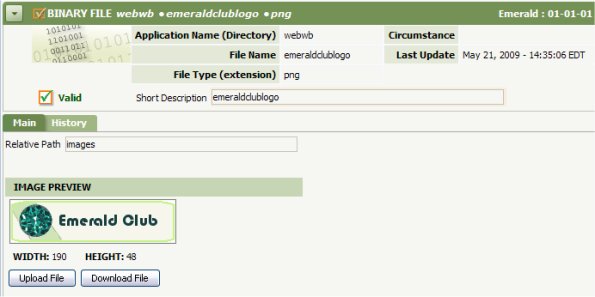
The logo image for the Emerald Club application is 190 pixels wide and 48 pixels tall, larger than the pegalogo_blue.png image. Use a PNG or GIF image if part of the logo is to be transparent.
![]()
From the App Explorer, right-click and select New > Technical > Binary file to create a binary file rule for the image. Use webwb as the App Name key part.
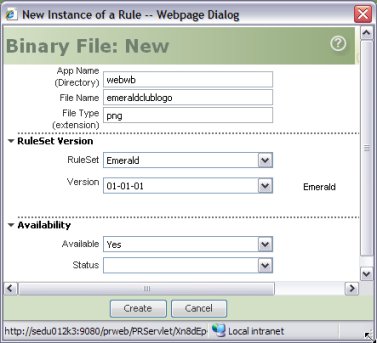
Click Create. On the Main tab, set the Relative Path to images and click Upload to upload the image file.
Save the Binary File rule form.
Step 3. Override the UserTopPanel section
The standard section rule Data-Portal.UserTopPanel supports the top area of the User composite portal. (For the Manager composite portal, the section rule is Data-Portal.MgrTopPanel.)
Copy the standard rule into an application RuleSet, preserving the name.
Open the Cell Properties panel for the leftmost cell in the layout.
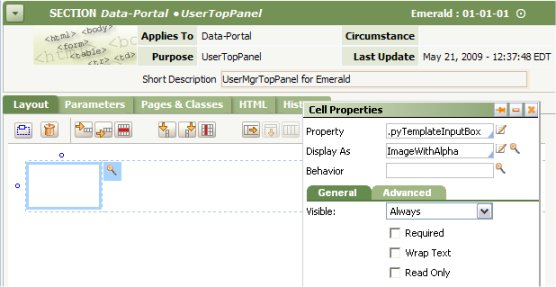
The property name in the Property field is not significant.
Click the magnifying glass icon at the right of the Display As field to set parameters values for the the HTML property rule ImageWithAlpha.
Complete three parameters: the path and file name (between double quote characters), the image width in pixels, and height in pixels.
Click OK. Apply the Cell Properties changes.

If necessary, open the Column properties to expand or shrink the column width of the cell containing the logo image. Similarly, adjust the Row properties to expand or shrink the row height.

Click ![]() to save the section rule.
to save the section rule.
Step 4. Test.
Log in as an Operator ID that — through their access group — uses the composite portal. Confirm that the Emerald Club logo appears in the upper left of the composite portal.