Conversation
Pegasystems Inc.
PL
Last activity: 22 Oct 2025 4:37 EDT
Customizing Constellation Portal
Why Avoid Customizing the OOTB Portal?
Before exploring the possible ways to customize out of the box Constellation portal let’s reasons explore why you may want to avoid it.
The Constellation design system provides modern, streamlined, and consistent user experience. A key principle of Constellation is to leverage out-of-the-box (OOTB) components and configurations to ensure application quality, performance, and maintainability. Consequently, direct customization of the OOTB portal is generally not advised.
Customizing the OOTB Constellation portal can introduce challenges during upgrades and maintenance. Customizations can create conflicts with these updates, leading to unexpected behavior and requiring rework. In contrast to the previous section-based UI, where customization was common, Constellation's prescribed patterns are intended to provide a consistent and future-proof user interface.
When Does Customization Make Sense?
Despite the general recommendation to avoid customization, there are a few use cases where it may be necessary, particularly from a legal or compliance perspective. For example, your organization may require:
- Customize the cookie pop-up: To include specific information about your Terms of Service (TOS) or to comply with regional data privacy regulations.
- Add a legal header or footer: To display legal disclaimers, copyright information, or other mandatory text on every page of the portal.
This article provides proposed solutions on how you may want to tackle those requirements. Example below show case customization of Cookie consent popup.
Customizing Cookie consent
Cookie consent dialog pre-dates dynamic text rule capabilities. It is planned to adopt dynamic text here in the future at which point, this hack can be removed.
For now, the approach for minor but critical modifications that go beyond text changes is to use JavaScript and inject it into the pyPortalIcon HTML fragment. This allows you to make targeted changes to the portal's Document Object Model (DOM) without altering the core portal rules.
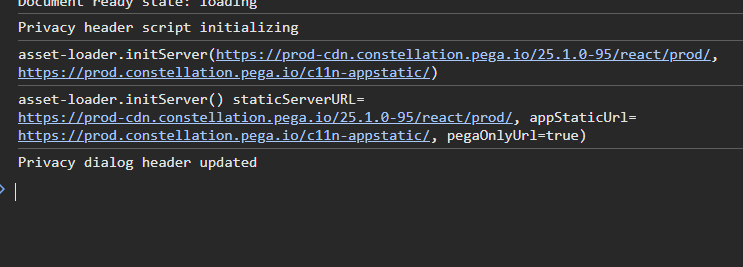
Attaching sample script (see attachments section below article) that will modify cookie consent banner. Please take this code as inspiration only for your own implementation and not use as copy past solution. When crafting your own solution make sure it is secure and performant (do not execute too often).

Here is how it works:
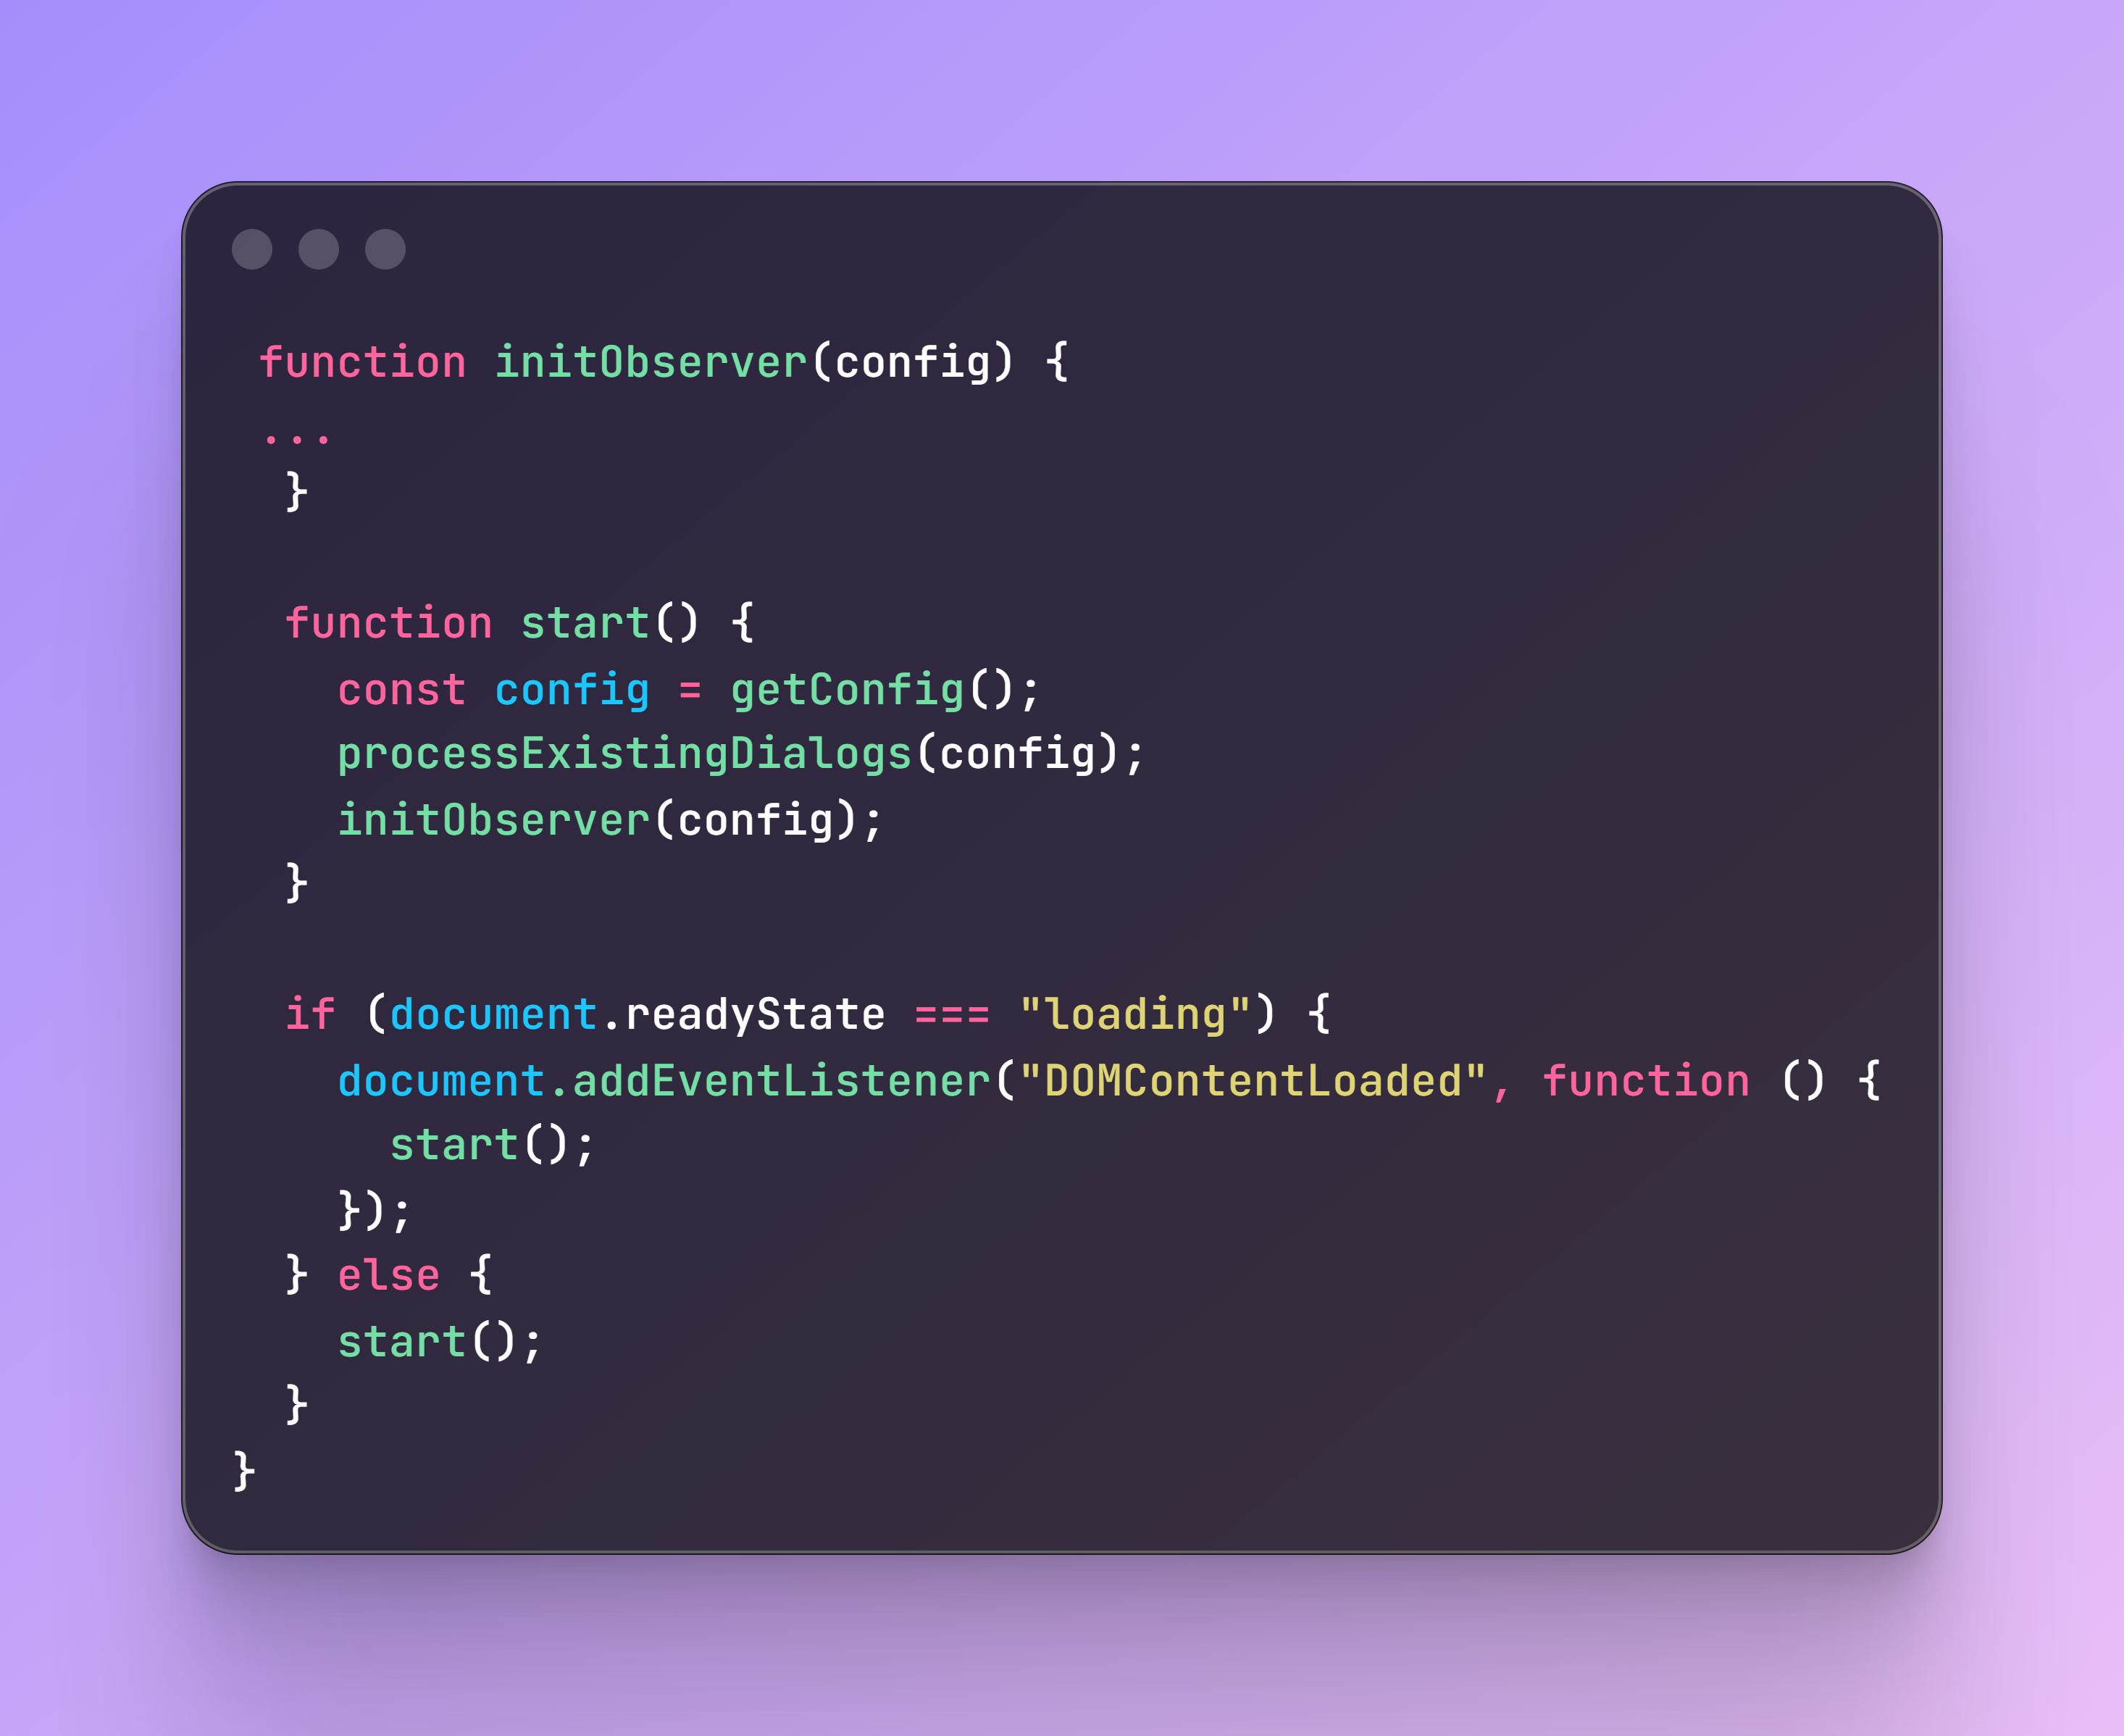
- use pyPortalIcon to invoke your script
- inside your script wait for DOM to be loaded (DOMContentLoaded event)
- setup MutationObserver to watch for DOM changes
- observer reacts to element with id equal to data-privacy-dialog-selector being added to DOM
- if it detects such a situation it modifies structure of element (ie changes text of cookie consent)

Information about accepting cookies is set in browser Local Storage under key named: {Appname}_{PortalName}_Allow_Cookies_Usage_Expiry_Time
Alternative: Using Localization for Text Changes
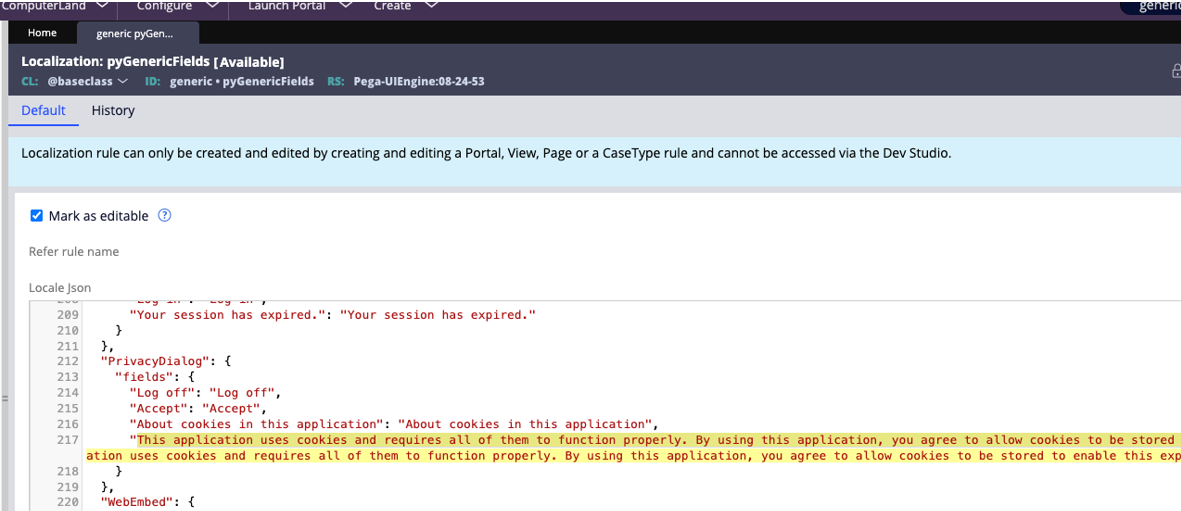
For purely text-based changes, such as modifying the cookie consent message, a simpler and safer alternative to JavaScript exists. If your application is localized, you can override the default text by editing the pyGenericFields localization rule. This approach is preferred as it doesn't involve DOM manipulation and is less likely to be affected by future platform upgrades.

To change the cookie consent text:
- Open the pyGenericFields rule from the Pega-UIEngine ruleset.
- Ensure it is marked as editable in your application ruleset.
- In the Locale Json, find the PrivacyDialog object.
- Update the value associated with the key "This application uses cookies..." to your desired text.
Here is an example of the pyGenericFields rule where this change can be made:
Adding header or footer
One of similar request around portal customization due to legal requirement is to add custom header or footer. You can achieve it in a similar way. Here are high level steps:
- use pyPortalIcon to invoke your script
- inside your script wait for DOM to be loaded (DOMContentLoaded event)
- locate in DOM out of the box portal and insert your DIV content before or after it
