Conversation
Pegasystems Inc.
PL
Last activity: 28 Jan 2026 12:31 EST
Rendering Image Attachments in a View (Infinity '25)
This article walks through how to display an uploaded image (JPG or PNG) directly inside a Constellation view without using a DX component. It was implemented in Pega Infinity '25.1.1
Special thanks to Vinay Chowdary Sarupuru (@robotvinay) for the approach!
📌Prerequisites
To reproduce the setup, you'll need:
-
Case Type (my example is based on Dawid Stefanik’s tutorial)
1. Data Model Setup
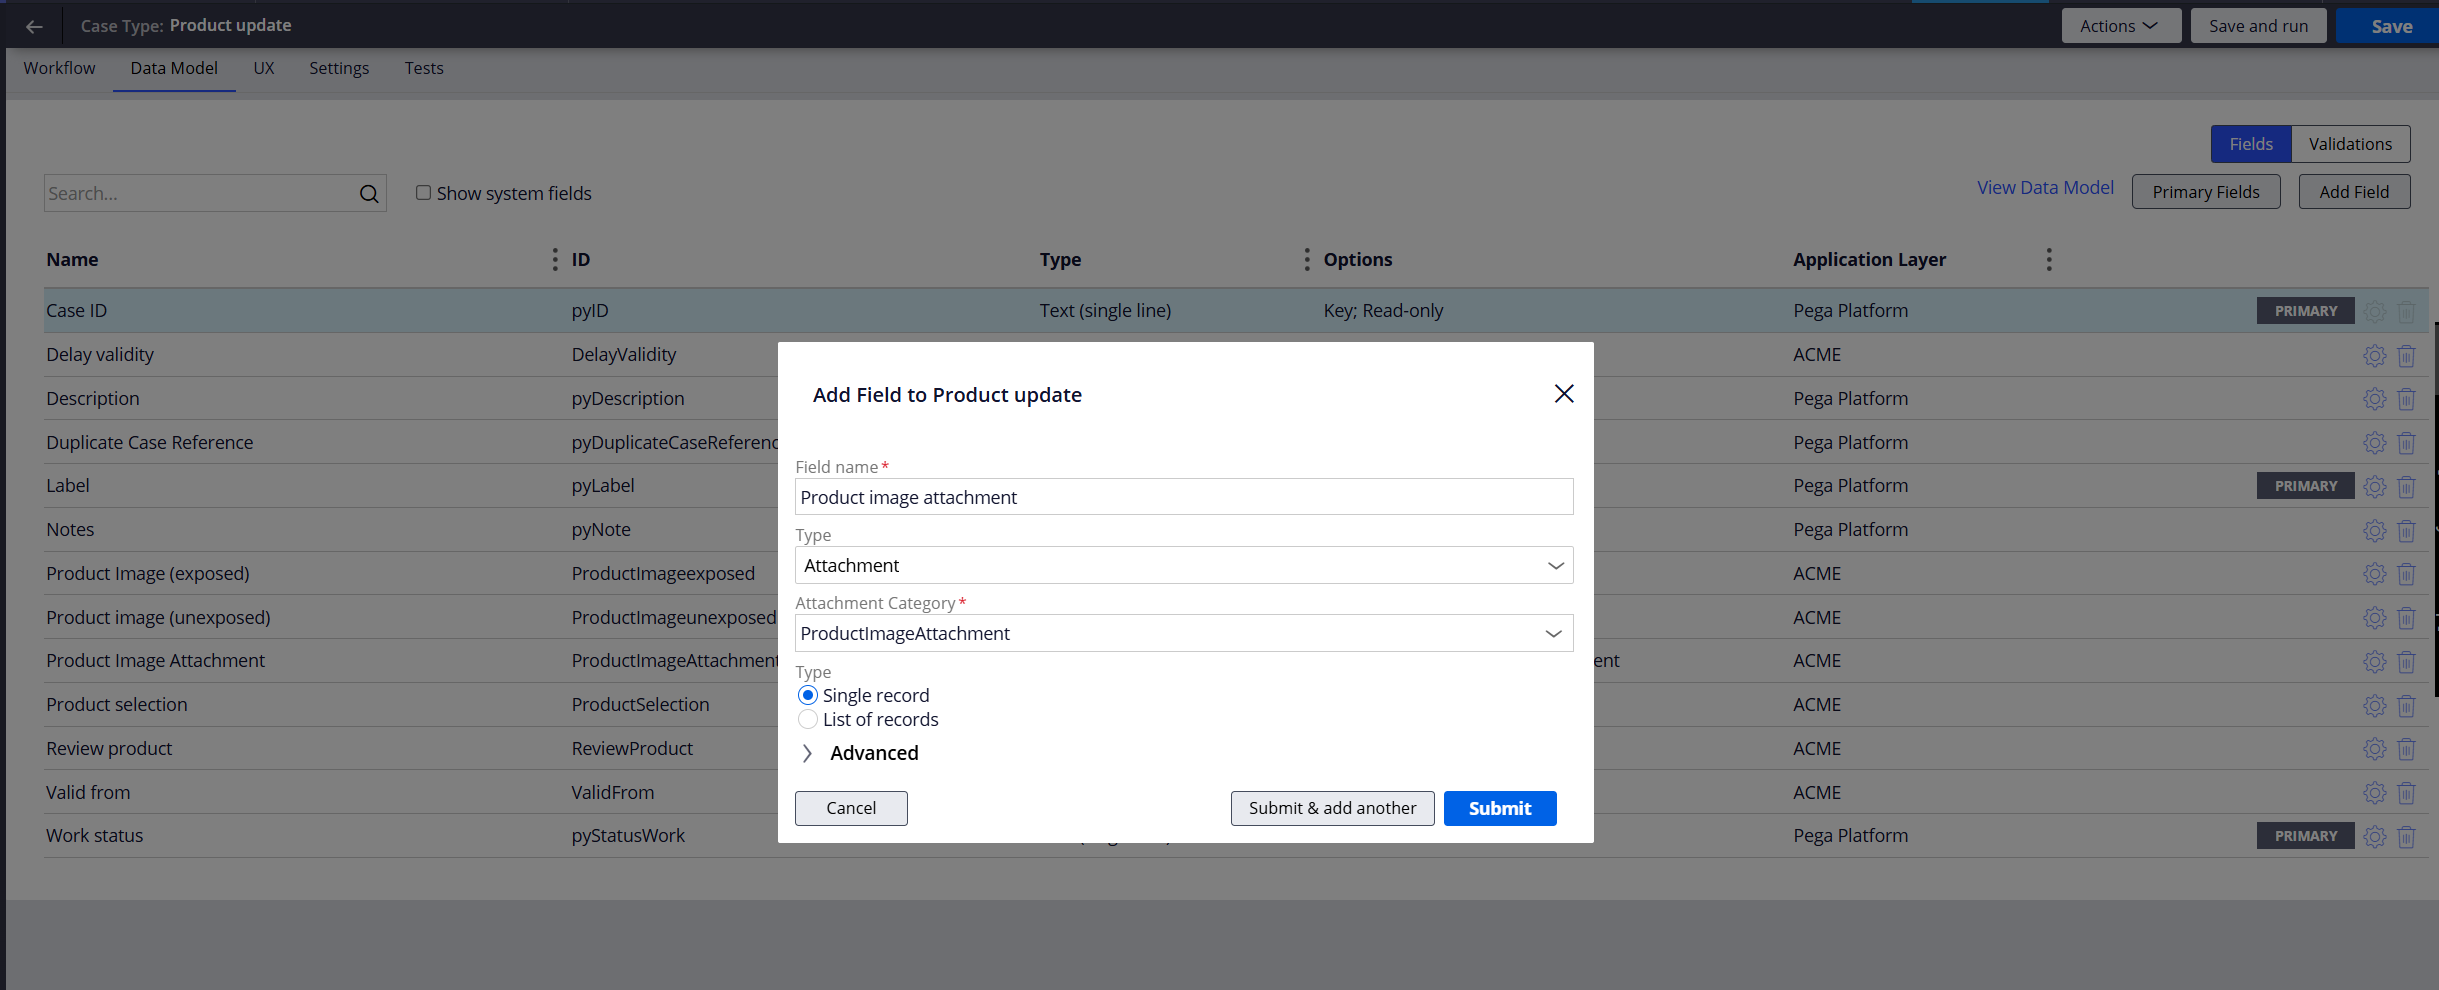
1.1 Create the attachment field
Create a case field of type Attachment. This will allow uploading an image file.
1.2 Create the preview field (exposed or unexposed)
You have two options:
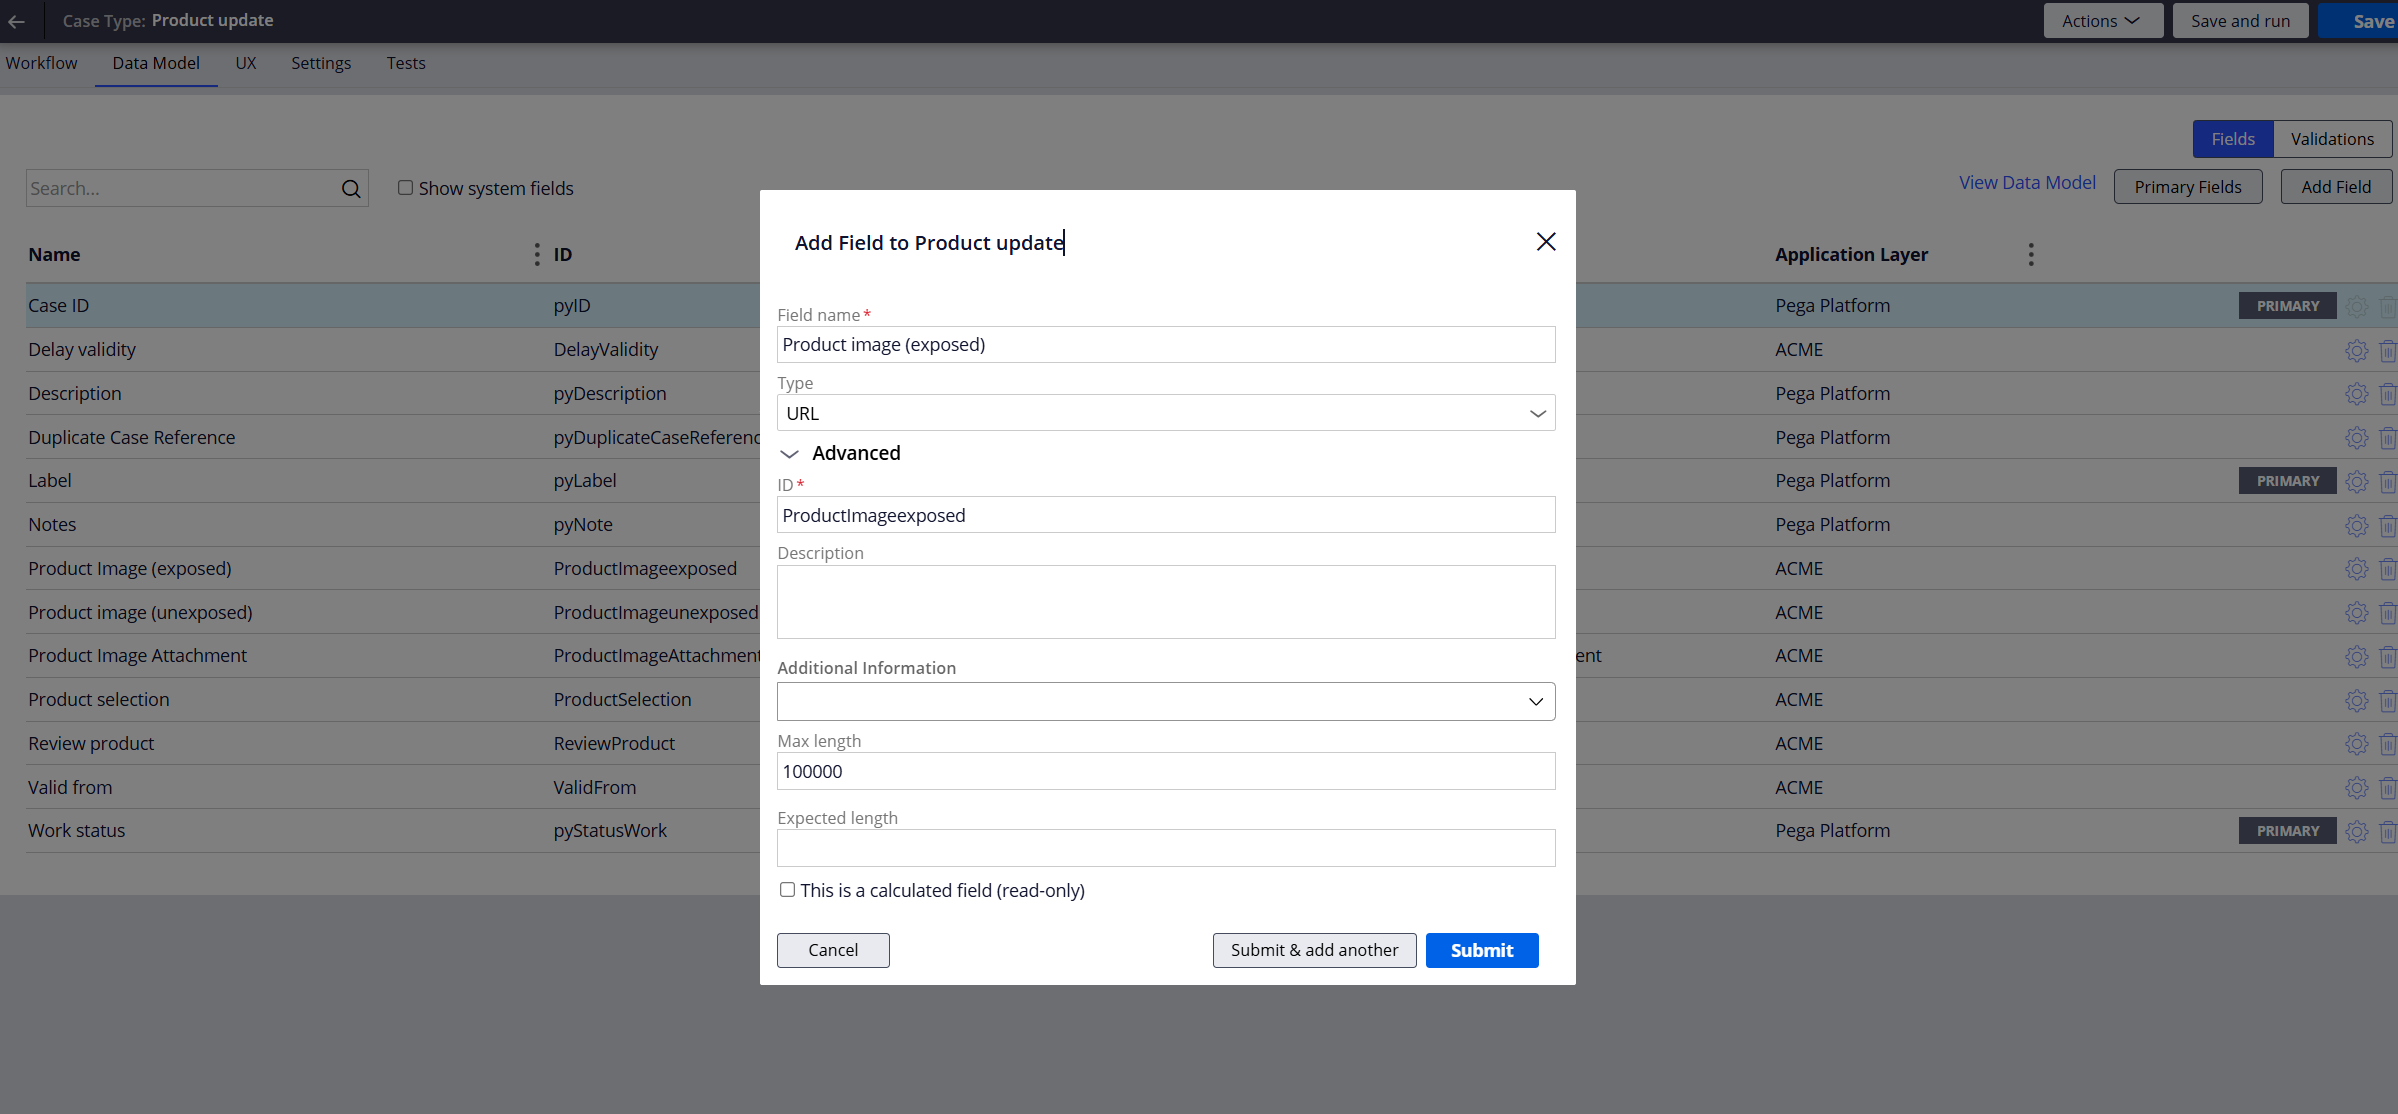
Option A — Exposed property (App Studio – friendly)
-
Create a field of type URL.
-
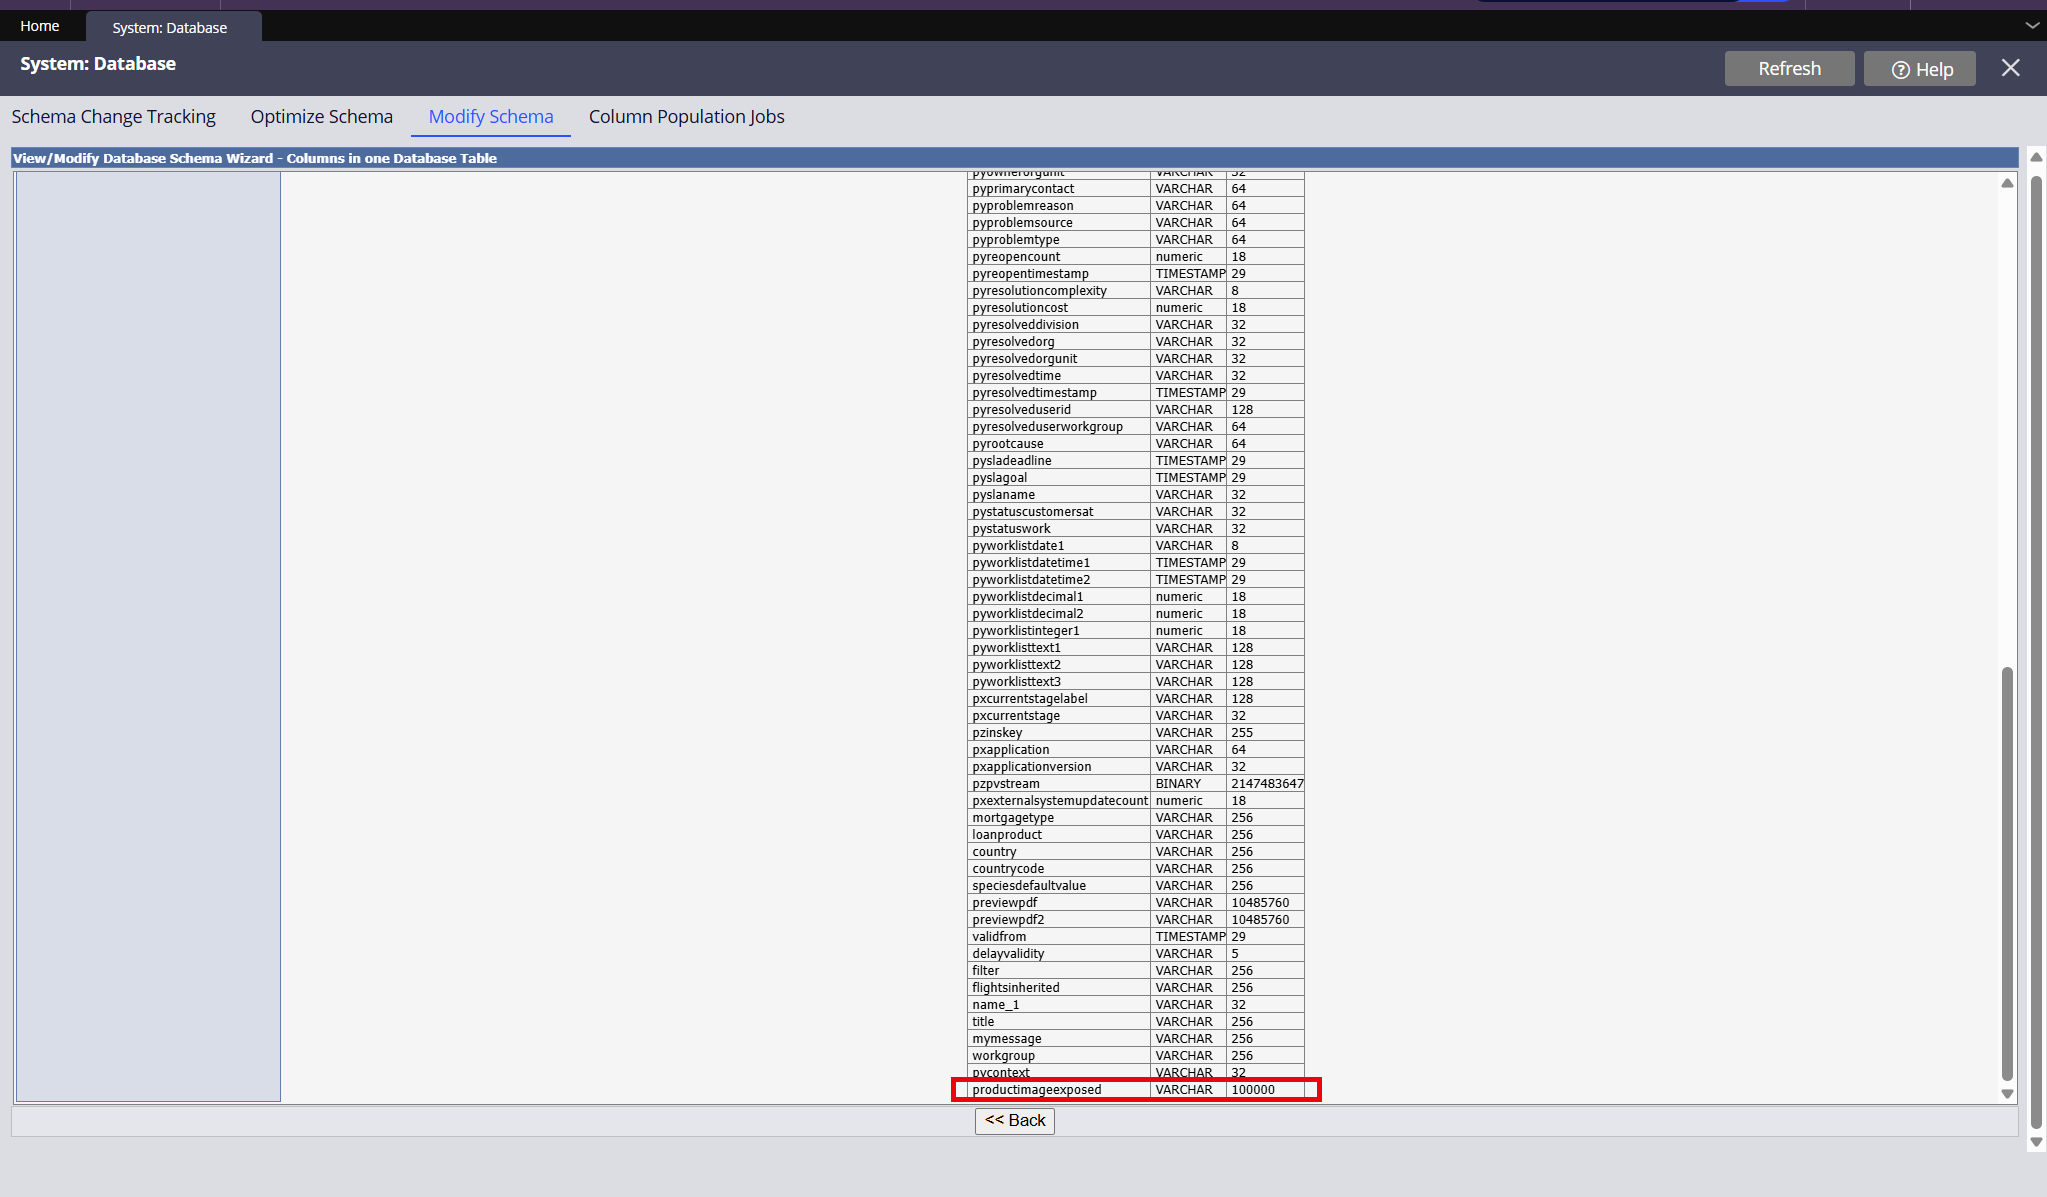
Increase the Max Length (e.g., 100,000 characters) to store Base64.
Option B — Unexposed property (using Dev Studio)
-
Create a Text property.
-
Set UI Control = pxURL.
-
Keep Max length empty.
-
Mark as Relevant Record.
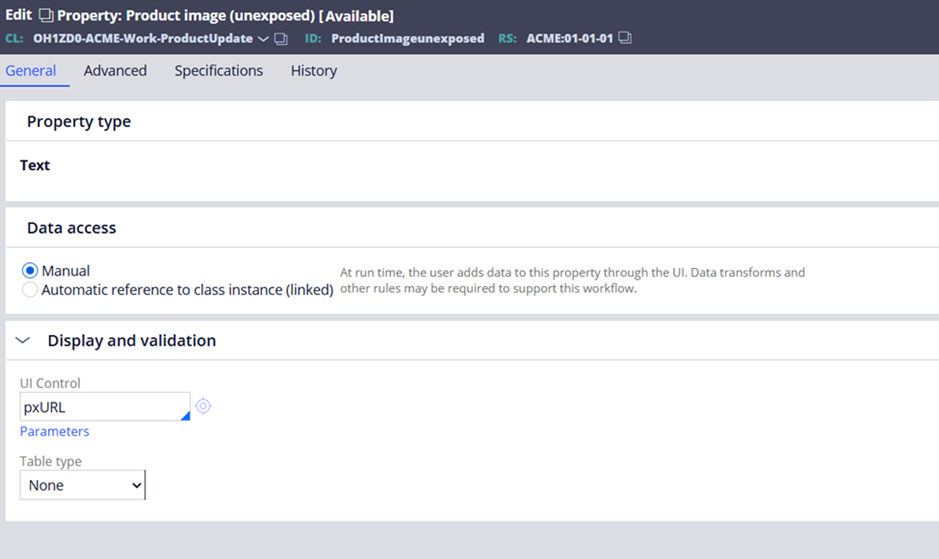
This avoids exposing a long string in the database.
2. Declare Expression
In Dev Studio, create a Declare Expression for the preview property, so that it contains Base64 image stream.
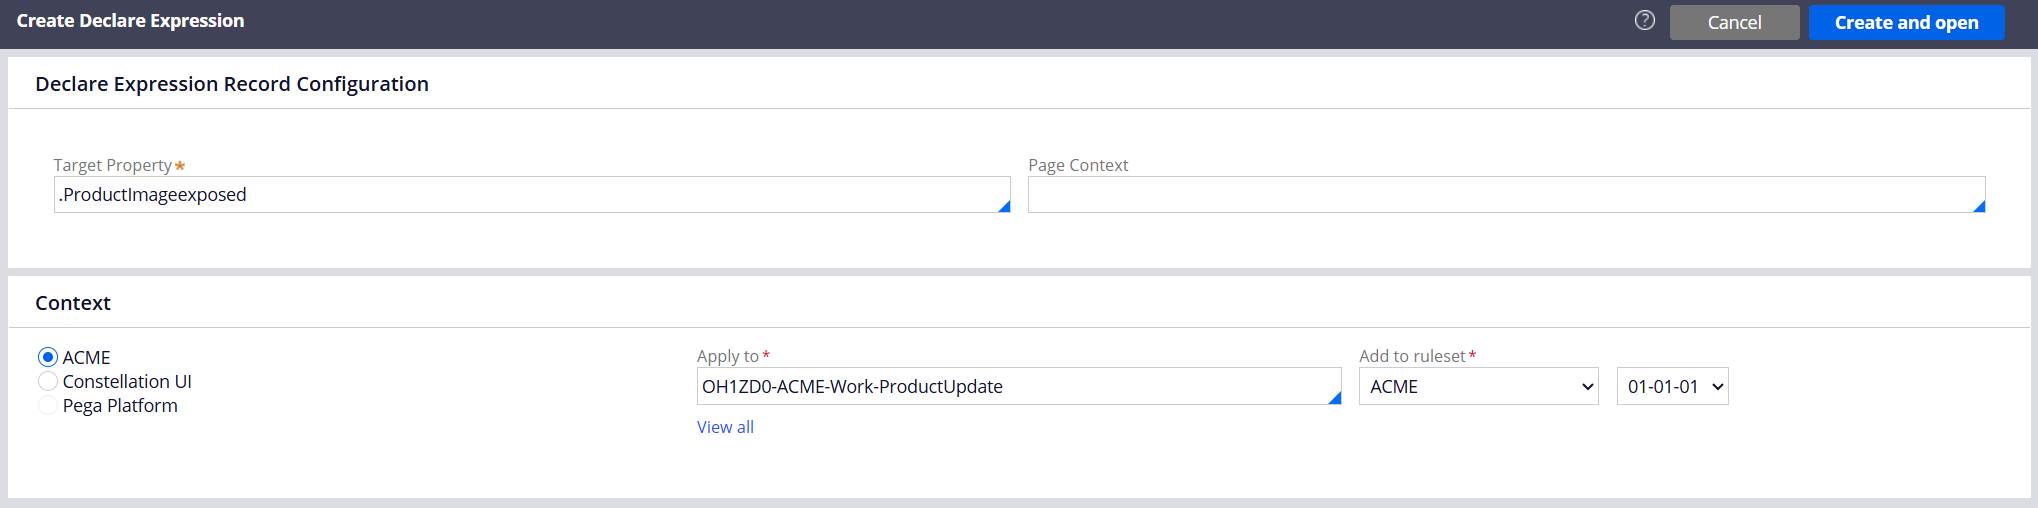
Configure Declare Expression Logic:
If an attachment exists, then set:
.ProductImage = "data:image/jpeg;base64," + D_AttachmentContent[AttachInsKey:.ProductImageAttachment.pxAttachmentKey, PopulateAttachStream:"true"].pyAttachStream
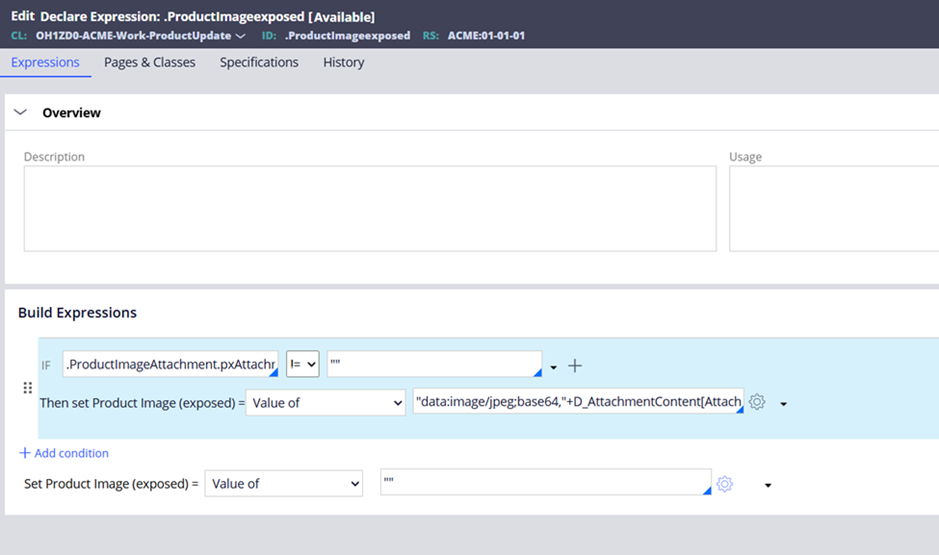
Notes
-
Prefixing ”data:image/jpeg;base64”, ensures the URL control treats the string as a valid data URL.
-
Works for both JPEG and PNG images.
-
Add the D_AttachmentContent page on Data-WorkAttach-File to Pages & Classes.
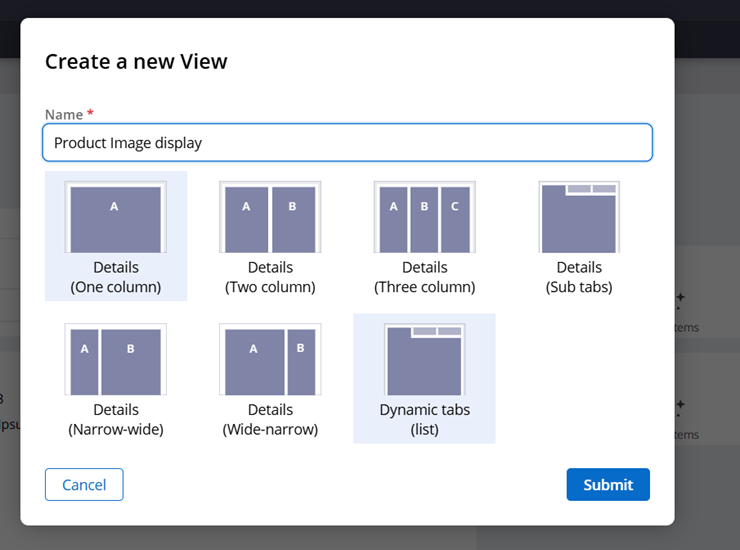
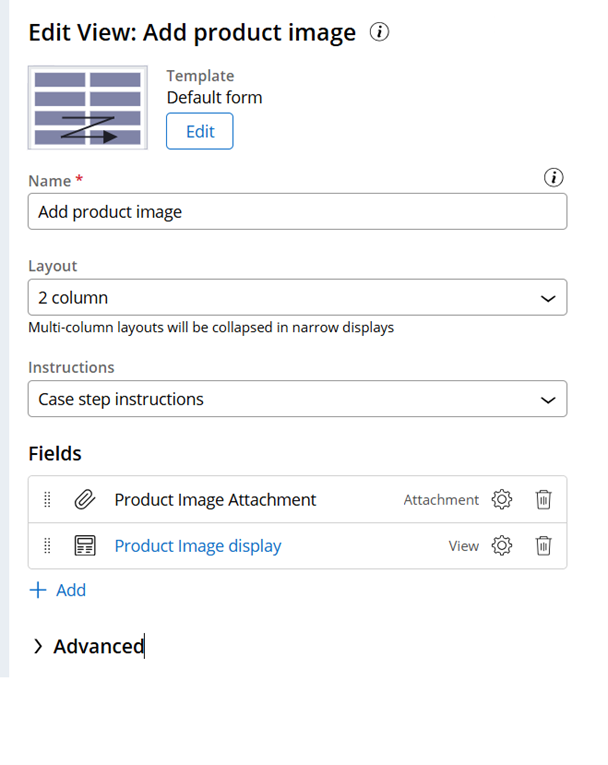
3. Building the UI
3.1 Create a Partial View for displaying the image
In the Case Type → UX tab:
-
Create a Partial View.
-
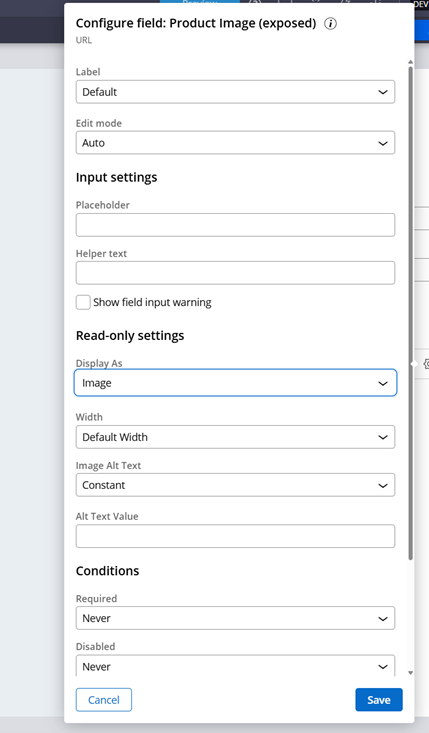
Add the preview property.
-
Configure Display As → Image.
3.2 Add the attachment field and view to your step
In your case workflow:
-
Add a step (e.g., Add product image) or edit existing step.
-
Add both:
-
The Attachment field
-
The Image Display partial view
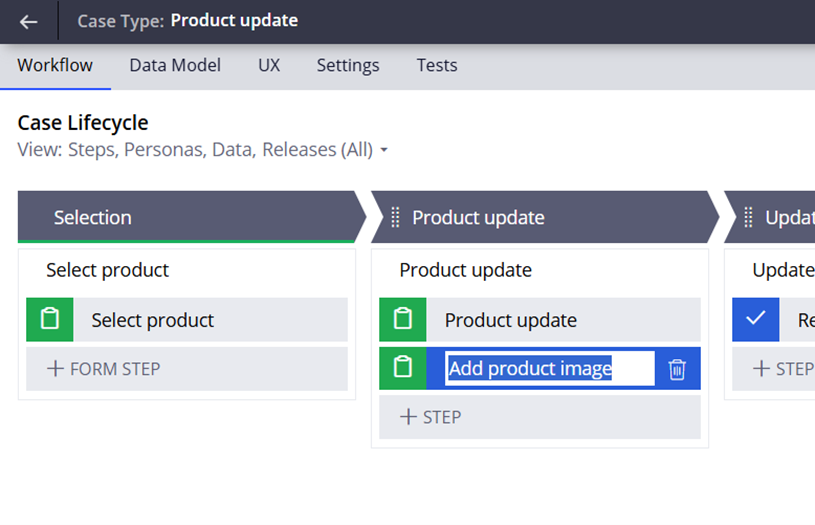
This renders the image immediately after upload.
4. Testing your changes
-
Create a new case.
-
Navigate to the step containing the upload.
-
Upload a JPG or PNG.
-
Image should render automatically in the preview view.
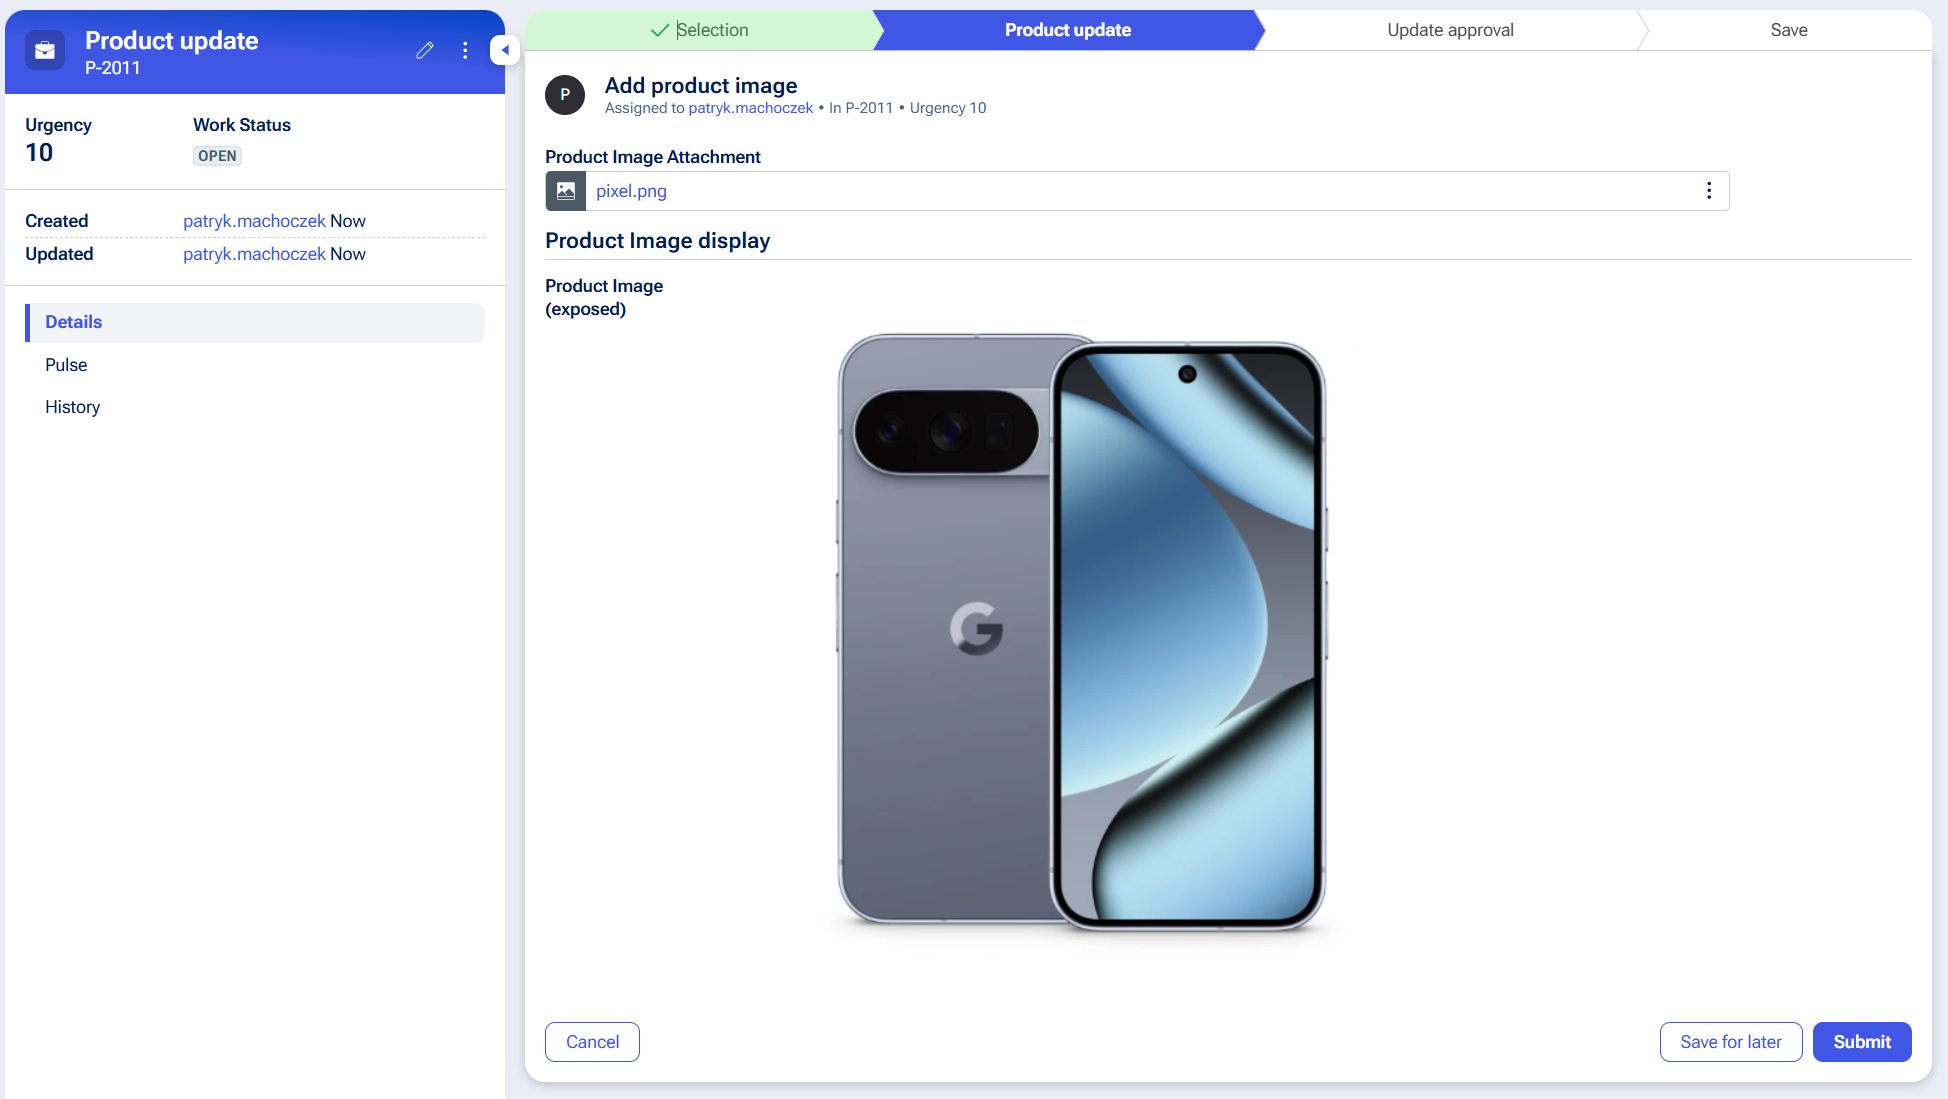
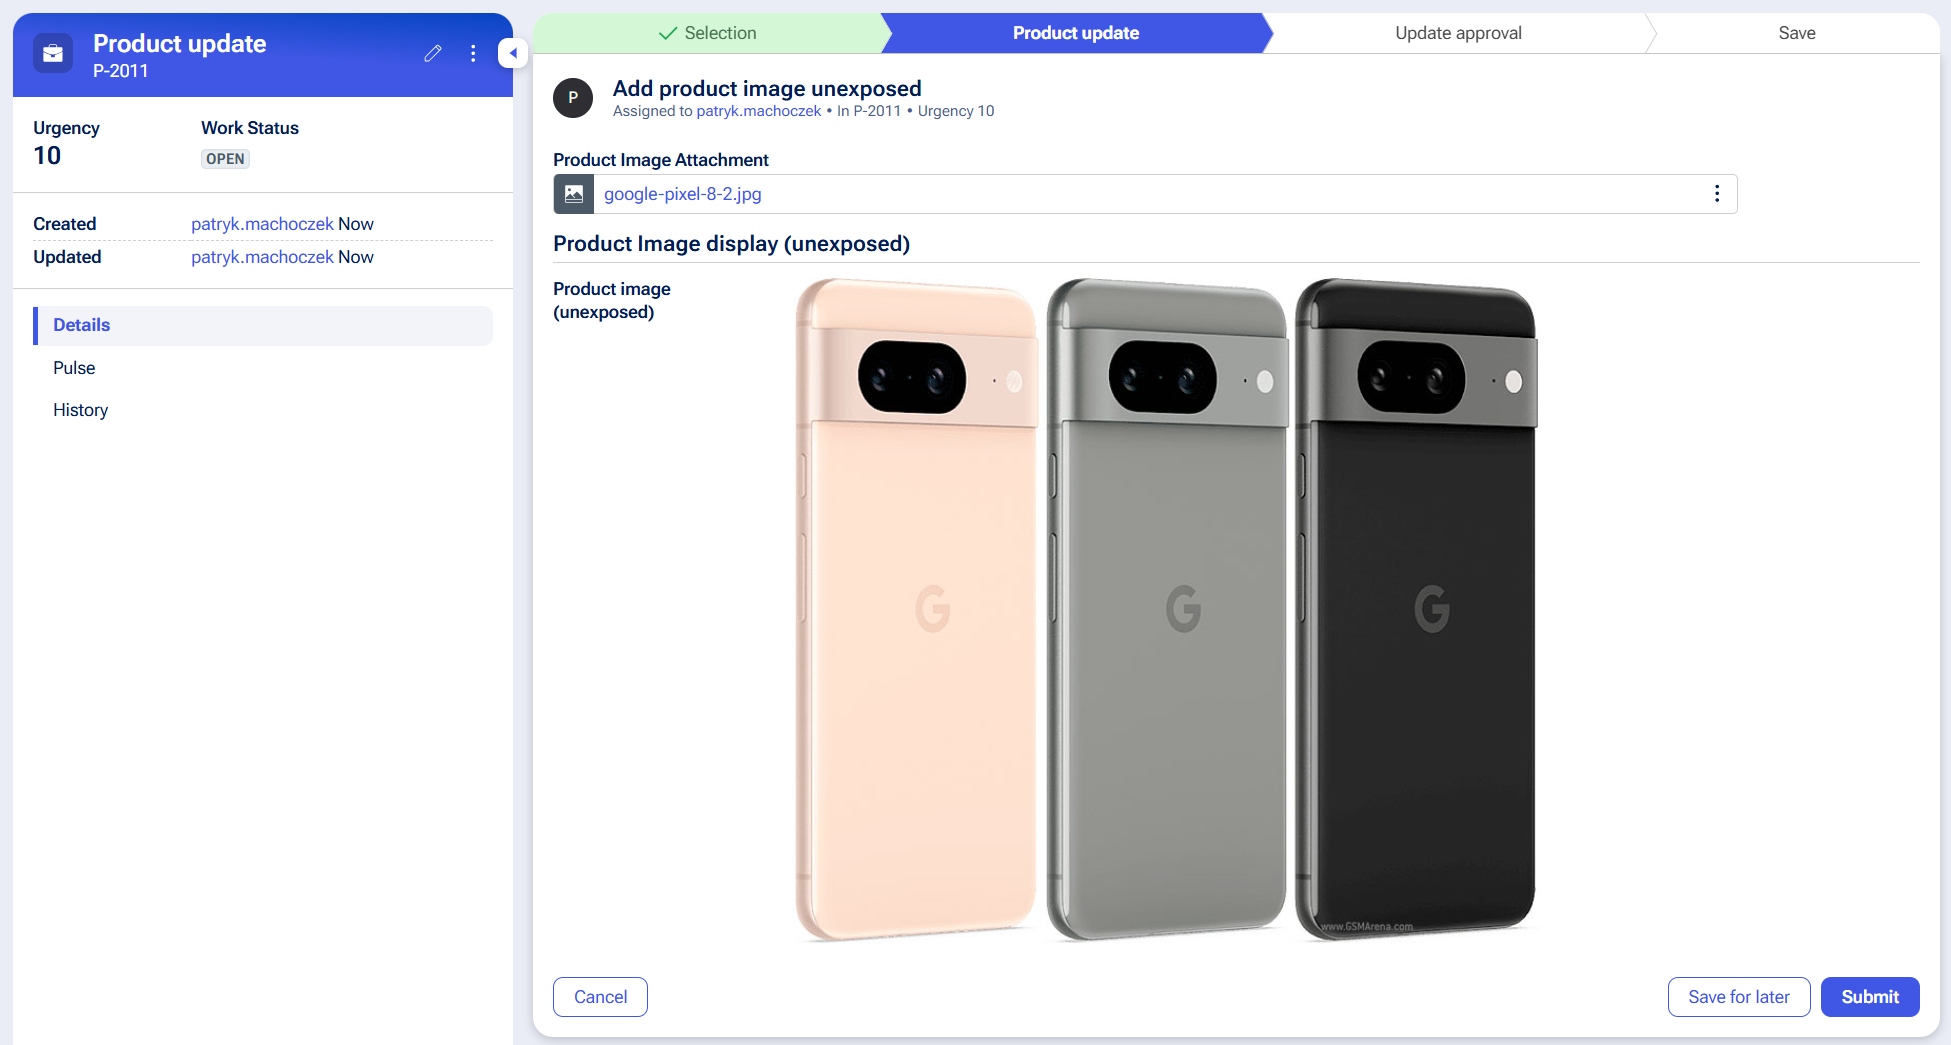
Both exposed and unexposed preview fields function and are configured identically.
✔ Result
You now have:
-
A clean attachment upload + preview experience
-
No custom DX component required
-
Full compatibility with App Studio and Constellation
This pattern can be reused across case types where inline image rendering is needed.
Pegasystems Inc.
GB
another 101 on related topic https://community.pega.com/conversations/user-experience/split-screen-c…